Little Girl's room has a wall of windows. Remember this picture from right after we finished the board and batten? The room is nice and sunny with all the windows, but we knew we'd need a solution to make it darker for nap time.


 She originally sewed the curtains to have a top pocket for the curtain rods. There was a curtain rod already up in Little Girl's room that the previous owner had left, but it had been painted and the paint was flaking off. We repainted them, but the paint still did not want to stick to the rod. In addition to the paint problem, the curtain panels are very heavy and kept sticking to the curtain rod, making them impossible to open without standing on a step stool. Boo.
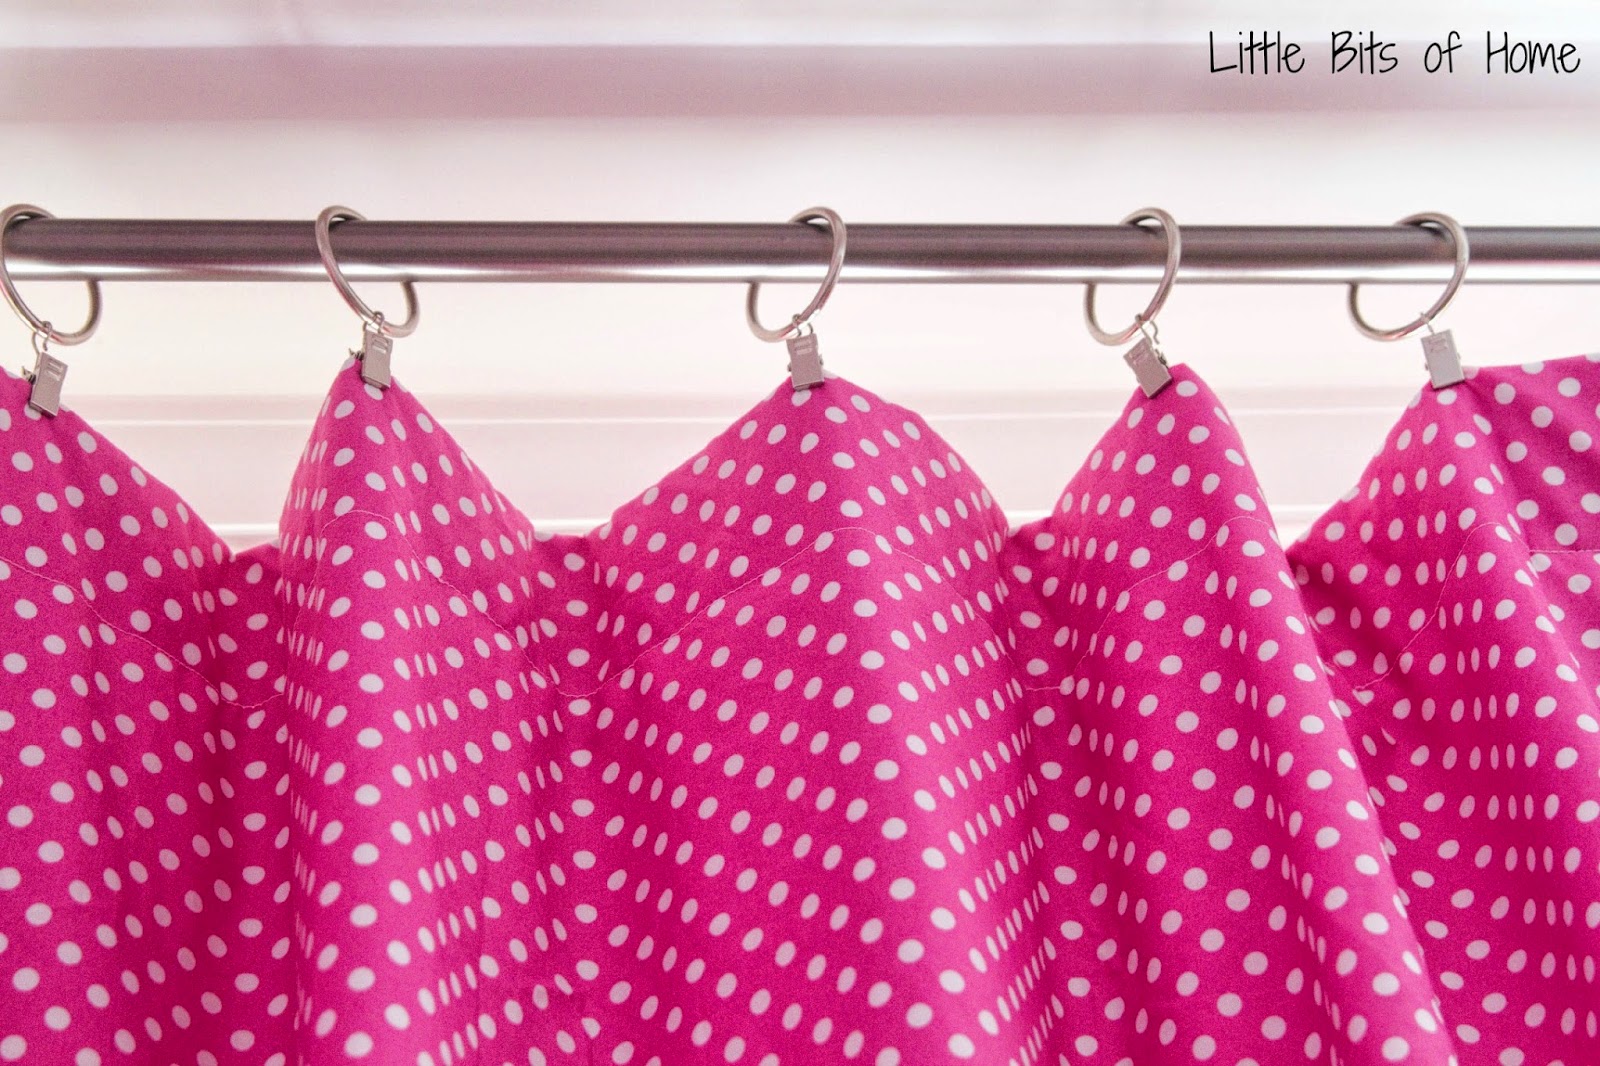
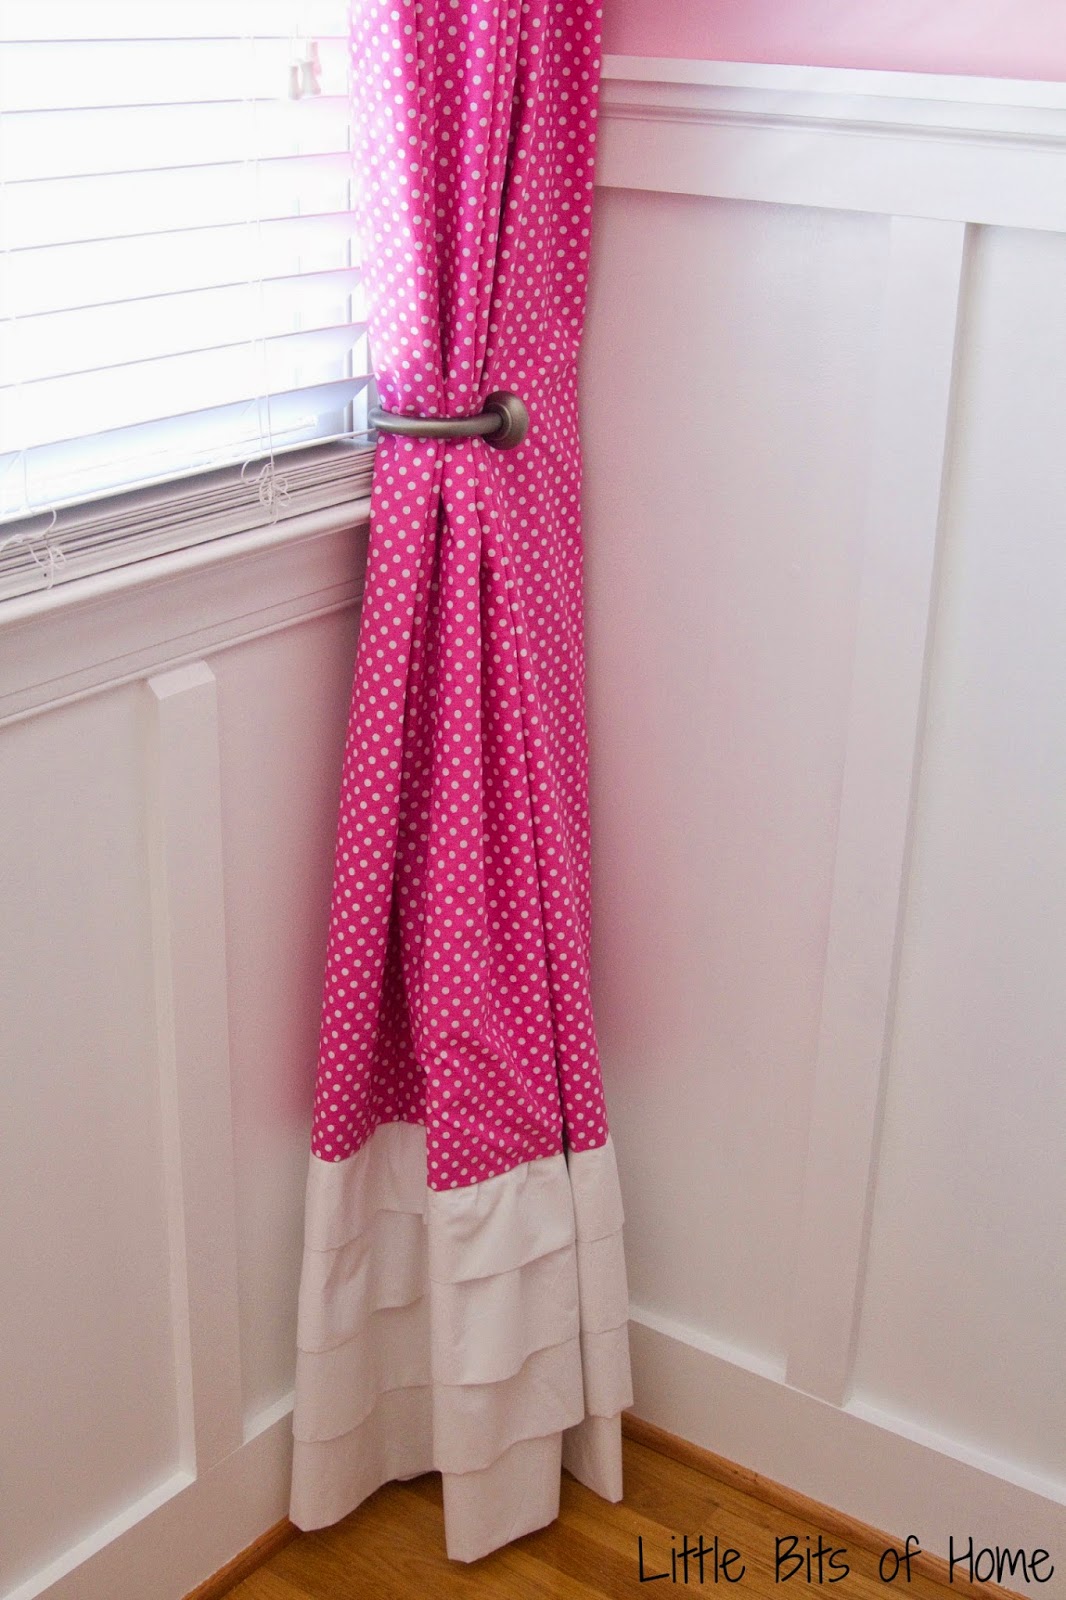
We finally broke down and replaced the curtain rod with a brushed silver rod and attached curtain clips to make opening and closing the curtains much easier. Works like a charm! We also installed matching tie backs to keep the curtains back and the sunlight pouring in when the windows are open. Love!


The existing roller shades were old, warped, and broken, so we tossed those. We were thinking of doing blackout Roman shades, but they were crazy expensive. We liked these curtains, but would need three panels. But, what do you do with 3 panels? When pulled back, there would be two panels on one side and only one panel on the other. My OCD can't handle that. ;) Four panels would have been way too much fabric. And we haven't even discussed the outrageous cost yet. What to do, what to do?
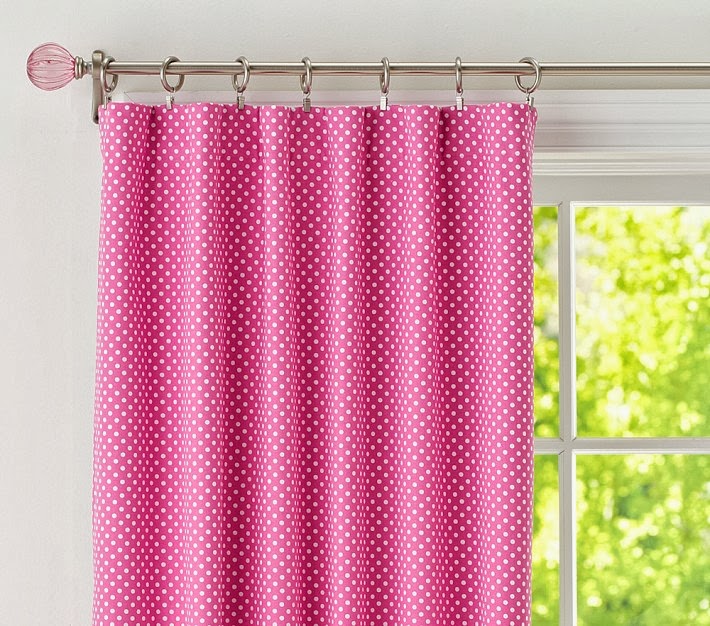
Image Credit: Pottery Barn
You know my money saving self had to come up with a cheaper solution! I really wanted curtains, but the panels would need to be over 65" wide each to be able to get away with only two panels. I looked at fabric to make curtains with, but even the upholstery fabric was not wide enough to make panels in the width we needed. Sigh.
Then, I found this duvet at Pottery Barn Teen and it was the exact shade of pink in Little Girl's quilt. It was printed on both sides and the twin was 68" wide and 90'' long. I called up my mom and begged asked her if she'd be up to sewing curtains out of the duvet fabric. Side note: It always helps to start the conversation with, "Mom, have I ever mentioned how much I love you?!" Hahahaha! She is an amazing seamstress and was up for the challenge.
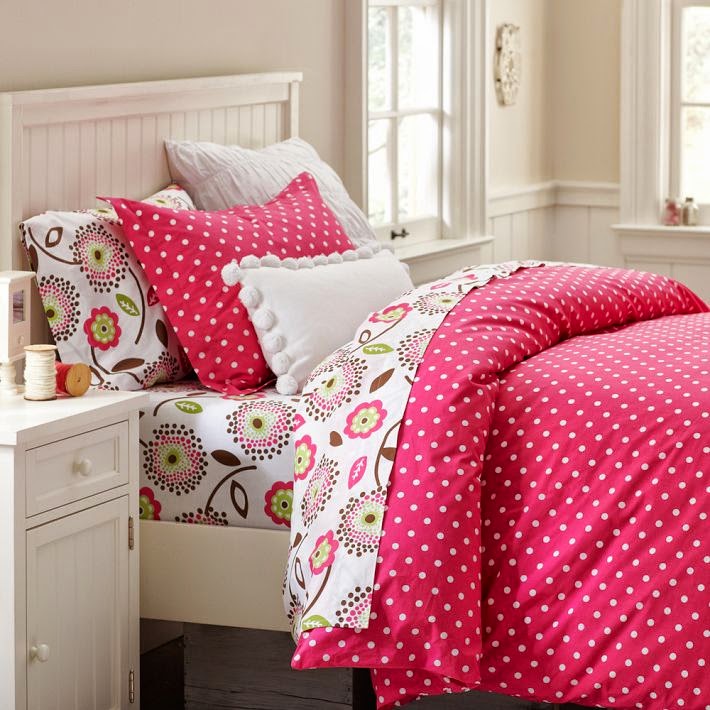
Image Credit: Pottery Barn
I purchased the duvet and had it shipped to her and she got to work taking the seams out of the duvet, leaving two giant pieces of fabric that were wide enough for the curtain panels.
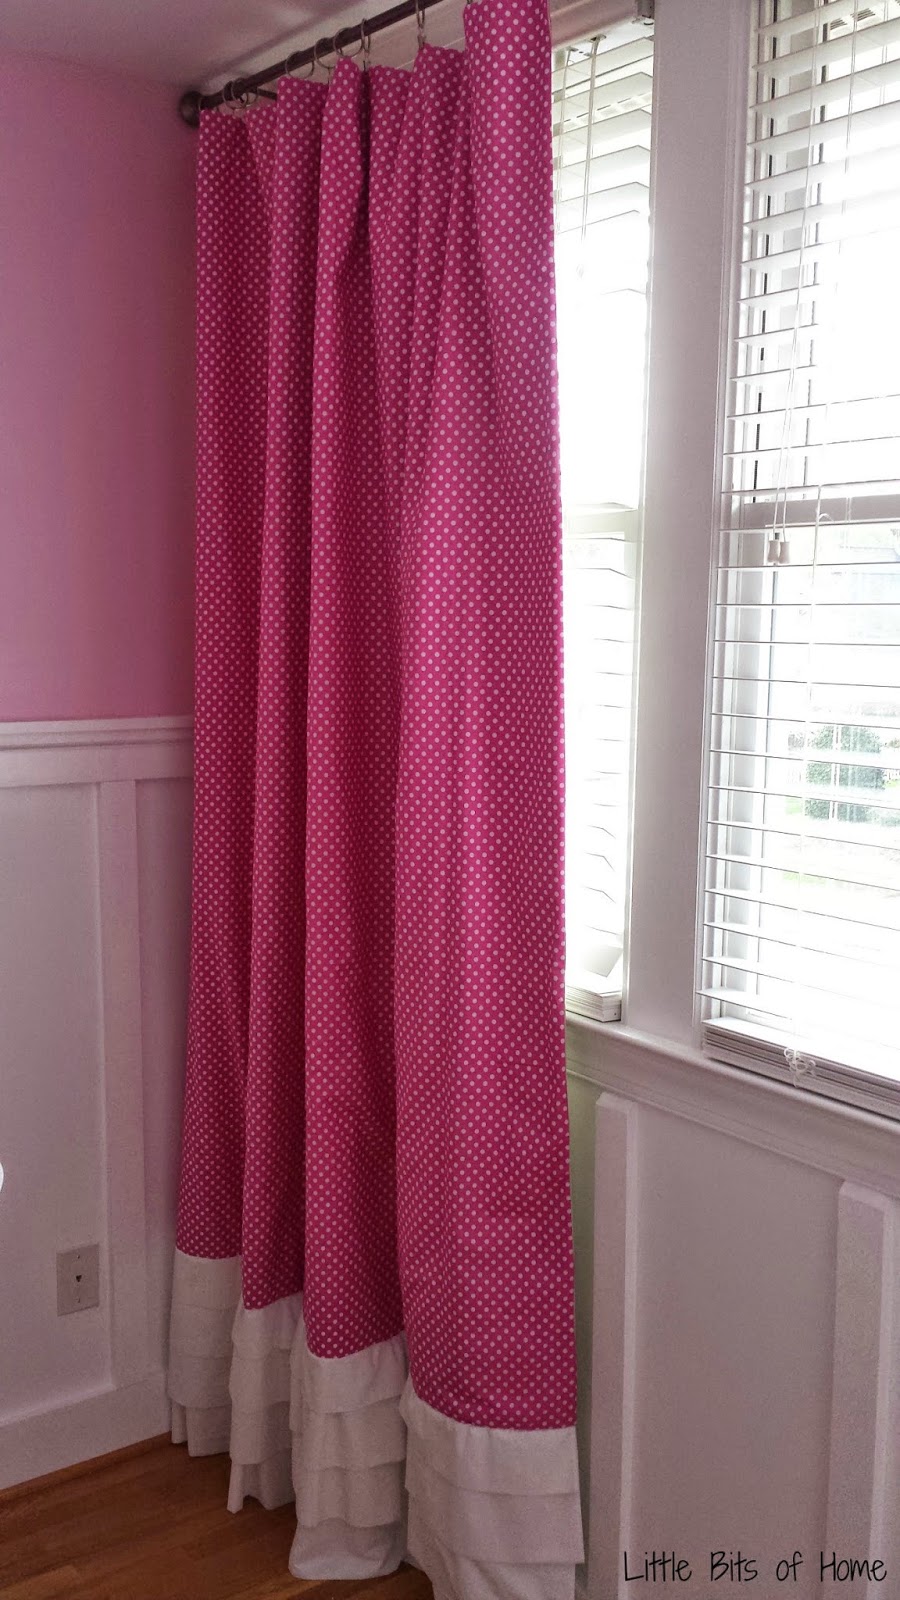
One more problem, though... 90" wasn't long enough to get the curtains to the floor. Whomp whomp. After a brainstorming session, we came up with the idea to sew white ruffles at the bottom to lengthen the curtains. She picked up two flat, white sheets at Walmart for $8 a piece to use for the ruffle material. She also purchased some inexpensive blackout material at the fabric store. It didn't come in extra wide, so she had to piece it together. But, since the blackout material is on the back, no one is the wiser...except you now. Oops. ;)
After approximately 11 billion hours and 57 sewing machine needles, she finished the curtains and mailed them to me. I was SO excited to hang them up and am absolutely ecstatic about how they turned out! Thank you, Mom, for all your hard work on the curtains! You're awesome!
We finally broke down and replaced the curtain rod with a brushed silver rod and attached curtain clips to make opening and closing the curtains much easier. Works like a charm! We also installed matching tie backs to keep the curtains back and the sunlight pouring in when the windows are open. Love!
Want to know the cost breakdown? It cost me a little over $100 total for the duvet, sheets, and blackout material that Mom used to make the curtains. It would have cost $210 for three of the Pottery Barn curtains in this fabric or over $500 for Pottery Barn blackout Roman shades!
Whew that was long! Thanks for sticking around for our window covering saga!


No comments:
Post a Comment